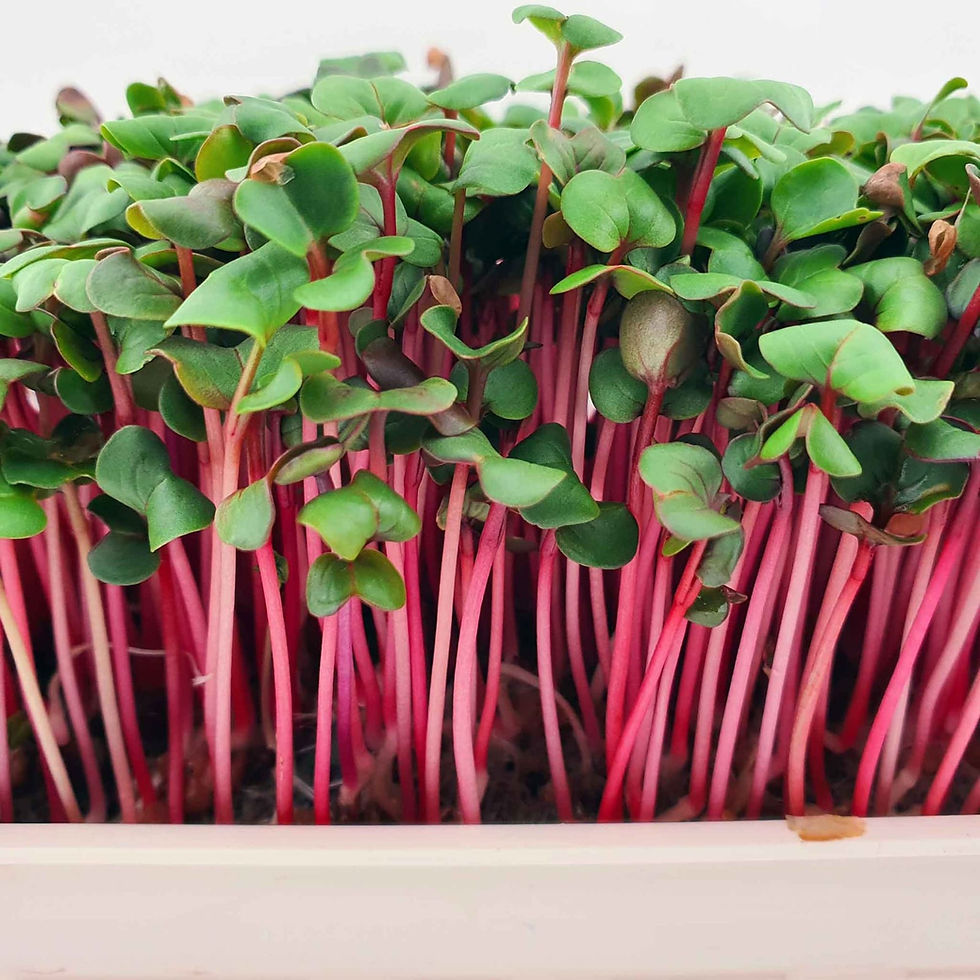
Common Microgreen Growing Mistakes — and How to Avoid Them
- mikrogrens

- Aug 7, 2025
- 3 min read

Growing microgreens is rewarding, but even small missteps can lead to mold, poor germination, or weak growth. Let’s break down the most common pitfalls and how to fix them—plus, discover how the right tools from MikroGrenz can streamline your success.
1. Overwatering or Underwatering
The Issue: Watering mishaps—either excess or insufficient moisture—can cause mold in overly wet trays, or stunted, uneven growth when too dry.
Solution: Keep growing media consistently moist but never soggy. Mist lightly 1–2× daily during germination. Once roots anchor, switch to bottom watering to minimize surface wetness and mold risk .
2. Poor Airtightness and Ventilation
The Issue: Stagnant air fosters mold and mildew, especially after germination.
Solution: Remove humidity domes promptly and boost airflow with a gentle fan (without directly blowing—just enough to circulate air above the canopy). Also, ensure good room ventilation for optimal transpiration and CO₂ balance .
3. Low-Quality or Dirty Seeds
The Issue: Seeds not meant for microgreens—or those contaminated—often lead to poor germination or introduce pathogens that cause mold.
Solution: Use high-quality, food-safe seeds explicitly labeled for microgreens. Conduct quick germination tests (e.g., 75%+ rate) to ensure vitality.
Mikrogrenz Pick: Consider MikroGrenz Green Mustard or Fenugreek Microgreen Seeds—both are bestsellers known for reliability. Their DIY Kit provides pre-selected seeds plus media and trays, perfect for beginners.
4. Overcrowded Seeding
The Issue: Sowing too densely restricts airflow, causes uneven growth, and triggers mold outbreaks .
Solution: Follow recommended seeding rates (vary by variety); for example, denser for radish, lighter for peas. Use a uniform medium and tamp gently before sowing.
Mikrogrenz Pick: Use the Microgreen Tray with Lid—it’s designed to distribute seeds uniformly and monitor growth easily.
5. Insufficient Lighting
The Issue: Weak or uneven lighting results in pale, leggy microgreens that stretch toward the light source.
Solution: Provide 12–16 hours of consistent light—either natural (rotate trays for even exposure) or via LED grow lights positioned 8–10 inches above the canopy.
6. Ignoring Early Signs of Mold
The Issue :Mold can creep in unnoticed—often mistaken for root hairs—and can quickly ruin a tray.
Solution: If you spot fuzz or white growth:
Gently remove visible mold.
Dust a thin layer of fresh mix over the surface.
Apply a safe antifungal spray (e.g., 3% hydrogen peroxide diluted or cinnamon powder) .
7. Late Harvesting
The Issue: Waiting too long to harvest leads to fibrous, bitter shoots that lose their texture and nutrient punch.
Solution: Harvest when microgreens reach 1.5–3 inches and show their first true leaves—usually between days 7 and 14 (depending on variety).
Quick Reference Table
Mistake | Fix |
Watering Errors | Mist daily; bottom water post-germination |
Poor Ventilation | Remove domes, use fans, ventilate grow area |
Low-Quality Seeds | Use tested seeds; do germination test |
Seed Overcrowding | Follow seeding rates, sow uniformly, press medium gently |
Insufficient Light | Use LEDs or natural light; rotate trays |
Mold Signs Ignored | Scrape mold, add fresh mix, use hydrogen peroxide/cinnamon spray |
Harvest Delay | Harvest at first true leaves (1.5–3″) |
Mikrōgrenz Product Suggestions
DIY Kit: Includes seeds, tray, and media—great for avoiding common errors.
Microgreen Tray with Lid: Ensures even sowing and provides visibility and ventilation.
Green Mustard / Fenugreek Microgreen Seeds: Reliable, beginner-friendly varieties.
Final Thoughts
Mistakes are a part of learning—but by tackling these common issues head-on, your microgreen journey will be smoother and more satisfying. Let me know if you'd like visuals, infographics, or a downloadable checklist to complement the post!


Comments