How to Successfully Grow Microgreens Indoors
- mikrogrens

- Jul 23, 2025
- 3 min read
Microgreens are tiny, flavorful greens that pack a powerful nutritional punch. Not only are they delicious, but they are also easy to grow in the comfort of your own home. Indoor gardening has seen a resurgence in recent years, and growing microgreens indoors can be a rewarding and straightforward venture. In this guide, we'll walk you through all the steps to successfully grow microgreens indoors.
Why Grow Microgreens Indoors?
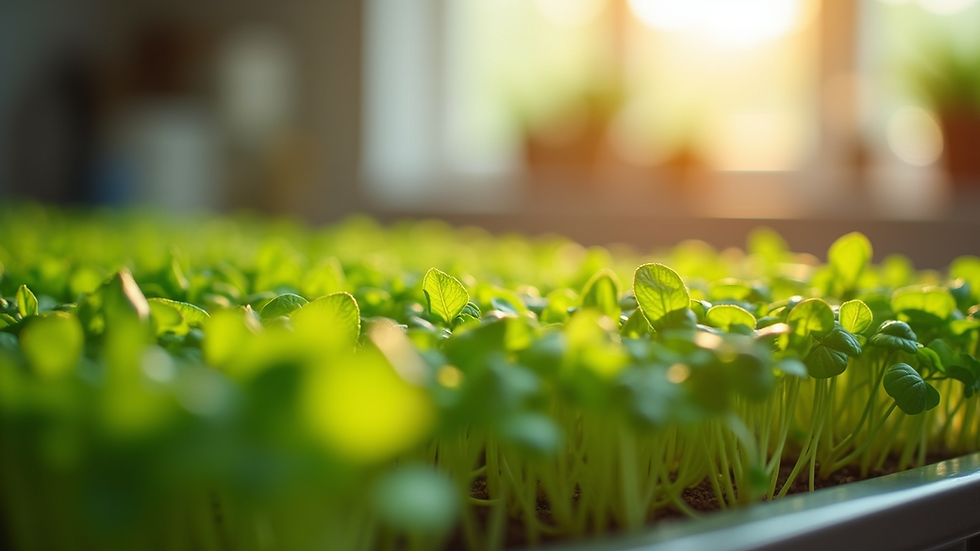
Growing microgreens indoors offers a variety of benefits. First, microgreens require minimal space, making them perfect for apartment dwellers and those with limited outdoor gardening areas. They are also quick to grow; many varieties are ready to harvest in as little as 7 to 21 days. Furthermore, growing your own greens can save you money and ensure you have access to fresh, organic produce right at your fingertips.
Best Microgreens for Indoor Growing
When it comes to choosing microgreens, there are several delightful options to consider. Some popular varieties include:
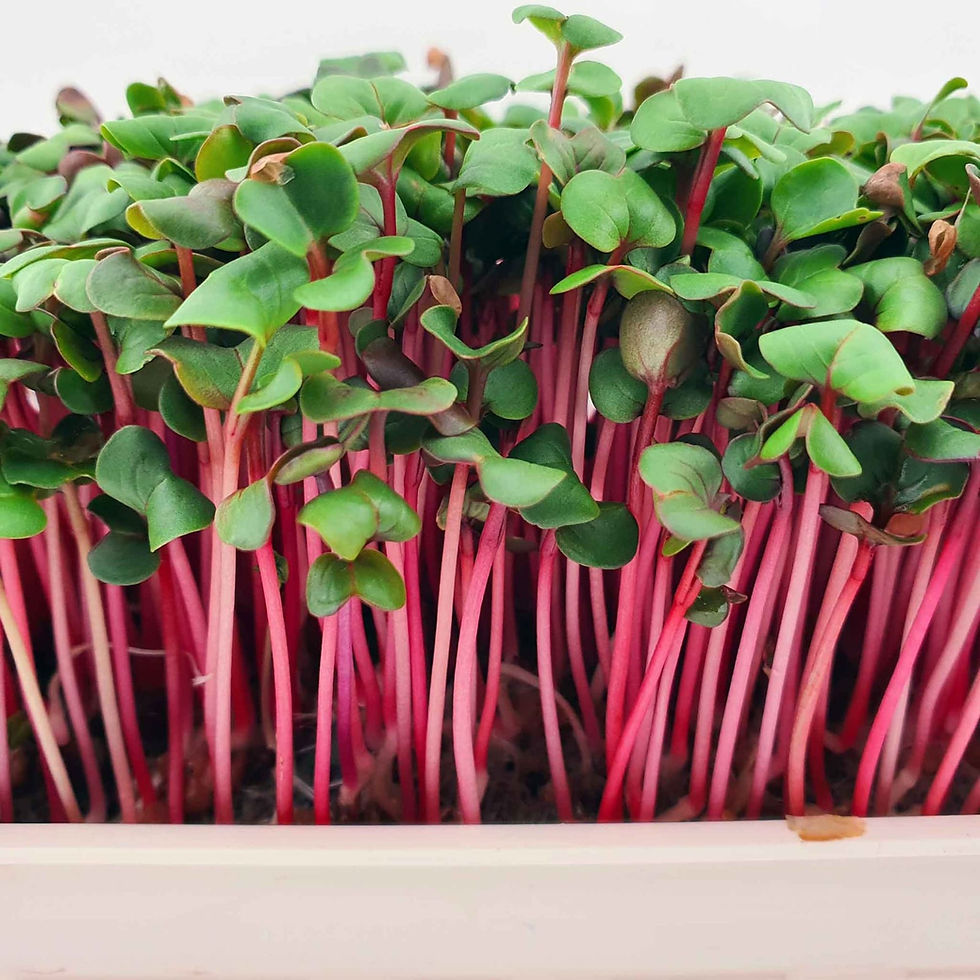
Radish: Quick to germinate and packed with flavor.
Sunflower: Offers a crunchy texture and a nutty taste.
Pea Shoots: Sweet and tender, perfect for salads or sandwiches.
Basil: Adds a classic herb flavor to your dishes.
Cilantro: Great for those who love adding zest to their meals.
Each variety has its unique growing requirements, but the good news is that most microgreens follow a similar process.
What is the Secret to Growing Microgreens?
The secret to successful microgreens lies in proper conditions and care. Here are some crucial factors to consider:
Light: Microgreens require 12 to 16 hours of light per day. If natural light is insufficient, consider using LED grow lights.
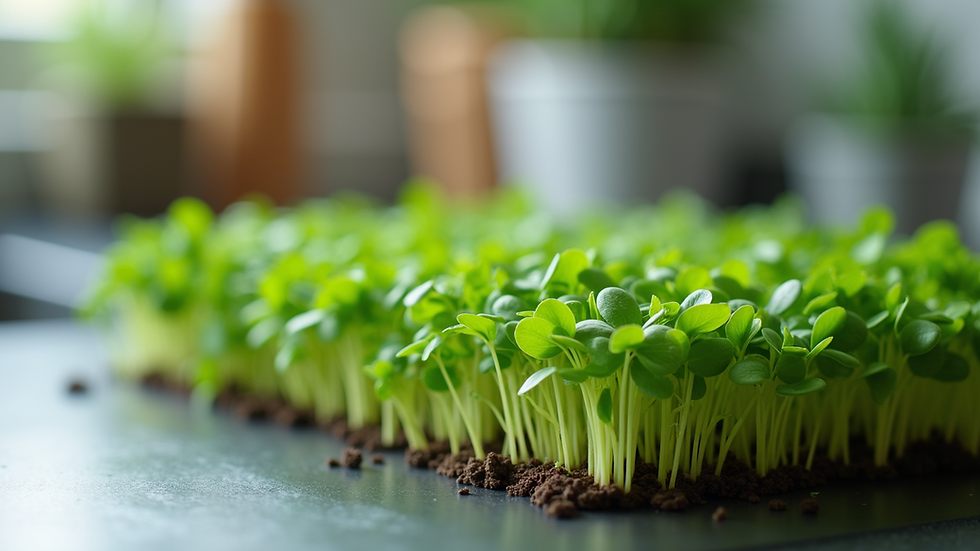
Soil: A light and nutrient-rich soil mix is essential. Look for a soil specifically designed for seed starting, which retains moisture while allowing for proper drainage.
Watering: Keep the soil consistently moist but not soggy. Use a spray bottle to gently mist the soil surface rather than pour water directly on it.
Temperature: Most microgreens thrive in a temperature range of 65°F to 75°F (18°C to 24°C), so aim to maintain a stable environment.

The Step-by-Step Process
Now that we've covered the essentials, here’s a simple step-by-step process for growing microgreens indoors:
Step 1: Gather Your Materials
You will need:
Seed trays or shallow containers
Seed starting soil
Microgreen seeds of your choice
A spray bottle for watering
Grow lights (if natural light is limited)
Step 2: Prepare Your Containers
Fill the seed trays or containers with the seed starting soil. Level the top and make sure it is evenly distributed in the tray.
Step 3: Sow the Seeds
Sprinkle the seeds evenly over the soil. Be careful not to overcrowd them, as this can lead to issues with air circulation and mold.
Step 4: Mist and Cover
Use the spray bottle to lightly mist the seeds and soil. Then, cover the container with a lid or plastic wrap to create a greenhouse effect, allowing for humidity to build and promoting germination.
Step 5: Provide Light
Once the seeds germinate, which generally takes about 3 to 7 days, remove the cover and place the tray in a location where it will receive ample light. If using grow lights, position them 2 to 3 inches above the seed tray.
Step 6: Monitor and Water
Keep an eye on the moisture levels of the soil. Mist with water as needed, ensuring it remains damp but not overly saturated.
Step 7: Harvest Your Greens
Most microgreens can be harvested when they are about 1-2 inches tall, which typically occurs within 7 to 21 days, depending on the variety. Use scissors to cut just above the soil level.
Tips for Success
To ensure your microgreens thrive, consider the following tips:
Rotate Your Crops: Growing different varieties ensures a continual harvest and helps keep your gardening experience interesting.
Clean Your Equipment: After each harvest, clean your seed trays and tools to prevent the spread of disease.
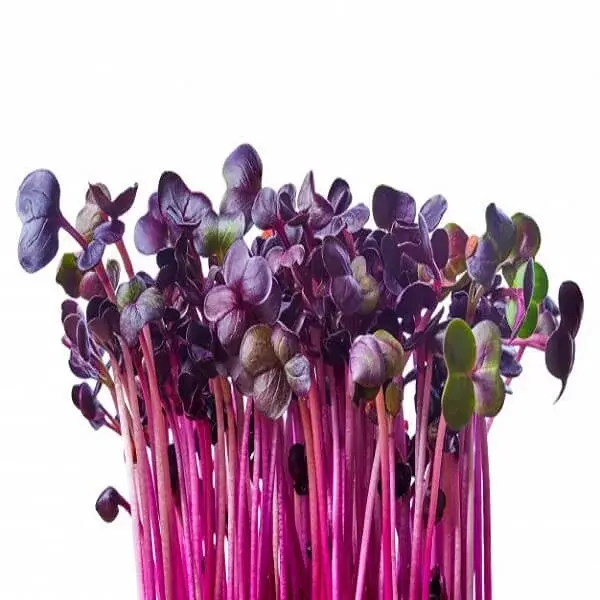
Experiment with Flavors: Don't hesitate to mix different seeds together for enhanced flavors and textures.
Final Thoughts
Growing microgreens indoors not only adds a splash of color to your home but also provides nutrition and flavor in your meals. It’s a simple, fulfilling activity that anyone can take part in. With this guide, you'll be well on your way to successfully cultivating your very own microgreens. For more resources on growing microgreens at home, consider visiting Mikrogrenz.
So gather your materials, choose your favorite seeds, and start your microgreens journey today! Happy planting!


Comments