How to Grow Fresh Microgreens at Home
- mikrogrens

- Sep 22, 2025
- 3 min read
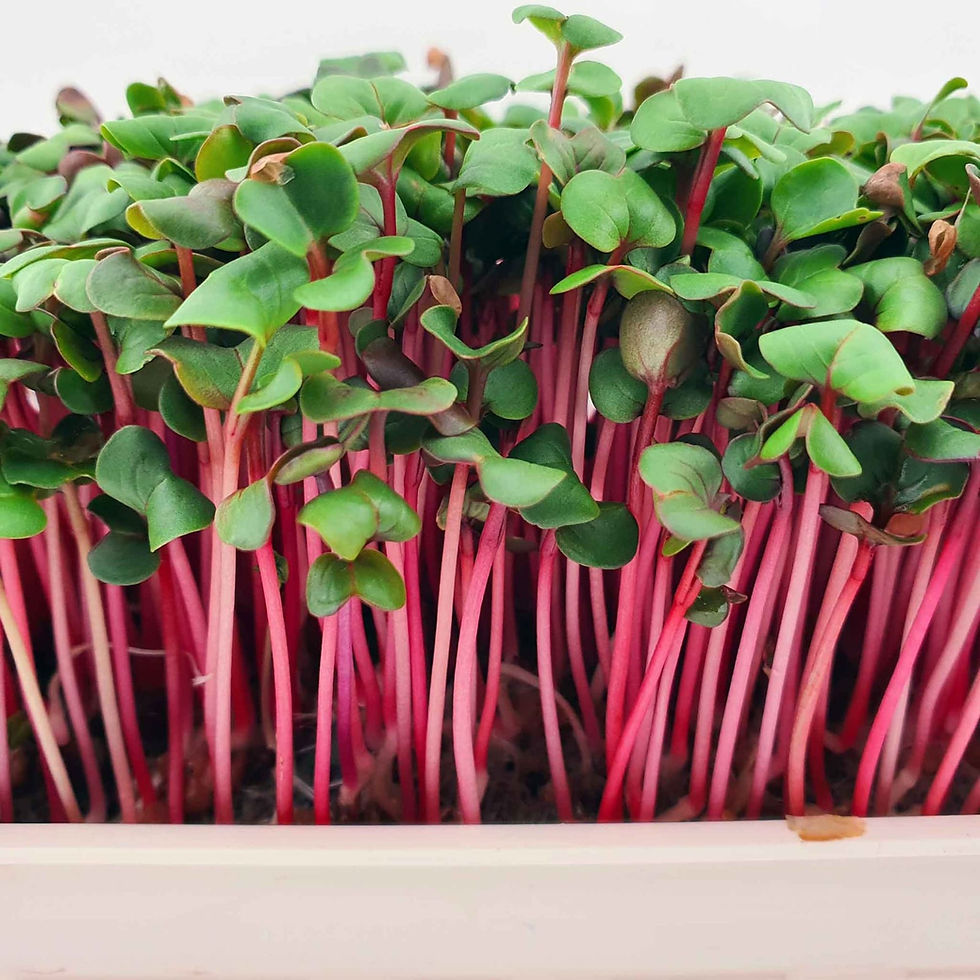
Microgreens are tiny, nutrient-packed greens harvested just after the first leaves develop. They are a popular choice for health-conscious individuals and families who want to add fresh, vibrant flavors and nutrients to their meals. Growing microgreens at home is simple, rewarding, and requires minimal space, making it perfect for urban living.
Whether you want to enhance your salads, sandwiches, or smoothies, microgreens offer a fresh and healthy boost. This guide will walk you through everything you need to know about how to grow microgreens successfully, from selecting seeds to harvesting your first crop.

How to Grow Microgreens: Step-by-Step Instructions
Growing microgreens is straightforward and can be done indoors or on a balcony with just a few supplies. Here’s a detailed step-by-step process to get you started:
1. Choose Your Seeds
Start by selecting seeds specifically meant for microgreens. Popular varieties include:
Sunflower - nutty flavor and crunchy texture
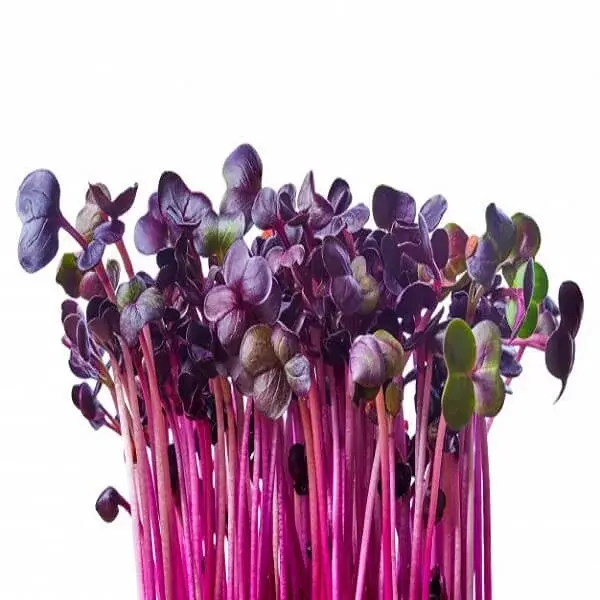
Radish - spicy and peppery
Pea shoots - sweet and tender
Basil - aromatic and flavorful
Broccoli - mild and slightly bitter
Make sure to buy organic, untreated seeds to ensure safety and quality.
2. Prepare Your Growing Tray
Use a shallow tray with drainage holes or a seedling tray. Fill it with a good quality, organic potting mix or coconut coir. The soil should be moist but not soggy.
3. Sow the Seeds
Scatter the seeds evenly over the surface of the soil. You can sow them densely since microgreens don’t need much space to grow. Lightly press the seeds into the soil but do not cover them completely.
4. Water and Cover
Mist the seeds gently with water using a spray bottle. Cover the tray with a clear lid or plastic wrap to create a humid environment that encourages germination. Keep the tray in a warm, dark place for 2-3 days.
5. Provide Light
Once the seeds sprout, remove the cover and place the tray in a bright spot with indirect sunlight or under a grow light. Microgreens need about 4-6 hours of light daily to grow healthy and vibrant.
6. Maintain Moisture
Keep the soil moist by misting daily. Avoid overwatering, which can cause mold or root rot.
7. Harvest Your Microgreens
Most microgreens are ready to harvest in 7-14 days when they have developed their first true leaves. Use scissors to cut the greens just above the soil line.
For more detailed tips and supplies, check out growing microgreens at home.

Will Microgreens Regrow After Cutting?
One common question is whether microgreens can regrow after harvesting. The answer depends on the type of microgreen and how it is cut.
Single-cut microgreens like radish, broccoli, and mustard usually do not regrow after cutting. Once harvested, the plant’s energy is depleted.
Cut-and-come-again microgreens such as pea shoots and sunflower can regrow if you leave the roots and some stem intact. They may produce a second, smaller harvest.
To maximize yield, use sharp scissors to cut microgreens just above the soil line without disturbing the roots. However, most growers prefer to start fresh batches for consistent quality and taste.

Tips for Successful Microgreen Growing
To ensure your microgreens thrive, keep these practical tips in mind:
Use quality seeds and soil: Organic seeds and nutrient-rich soil improve growth and taste.
Maintain proper lighting: Natural sunlight or LED grow lights help microgreens develop vibrant colors and flavors.
Control humidity and airflow: Good ventilation prevents mold and fungal growth.
Avoid overwatering: Mist lightly to keep soil moist but not waterlogged.
Harvest at the right time: Pick microgreens when they have their first true leaves for the best texture and nutrition.
Why Choose Microgreens for Your Home Garden?
Microgreens are a powerhouse of nutrition. They contain higher concentrations of vitamins, minerals, and antioxidants compared to mature greens. Here are some benefits:
Quick growth cycle: Ready to harvest in 1-2 weeks.
Space-efficient: Perfect for small apartments or urban balconies.
Versatile: Add flavor and color to many dishes.
Cost-effective: Grow your own instead of buying expensive store-bought greens.
Sustainable: Reduce food miles and packaging waste.
By incorporating microgreens into your diet, you can enjoy fresh, healthy greens year-round.
Where to Get Microgreen Seeds and Kits
If you are new to microgreens, starting with a DIY kit can simplify the process. Kits usually include seeds, trays, soil, and instructions. For those interested in a larger scale or business opportunity, franchises like Miikrogrenz offer microgreen seeds, DIY kits, and franchise options directly through their website.
Explore their offerings to find everything you need to start your microgreen journey with confidence.
Growing your own microgreens is a rewarding way to boost your nutrition and enjoy fresh greens daily. With minimal effort and space, you can cultivate a variety of microgreens that add flavor, color, and health benefits to your meals. Start today and experience the joy of homegrown microgreens!


Comments