How to Successfully Grow Microgreens at Home in India
- mikrogrens

- Jul 19, 2025
- 4 min read
Growing microgreens at home has become an increasingly popular endeavor, especially for those who are keen on healthy eating and sustainable living. In India, where home gardening options are often limited, microgreens offer a fantastic way to cultivate fresh produce in small spaces. This blog post will provide you with practical steps, tips, and insights on how to grow microgreens efficiently in your own home.
Home Microgreens Cultivation: An Introduction
Microgreens are tiny, edible plants harvested just after the first true leaves have developed. They are nutrient-dense and packed with flavor, making them a delightful addition to any meal. The process of growing microgreens at home is relatively straightforward and requires minimal investment.
Microgreens can be cultivated in various environments. Whether you're in an apartment, a house with a balcony, or even a small space without access to natural sunlight, microgreens can thrive. All you need is a little knowledge, some basic supplies, and a bit of patience.

Choosing the Right Microgreens
There are numerous types of microgreens to choose from, each offering distinct tastes and nutritional profiles. Some popular options include:
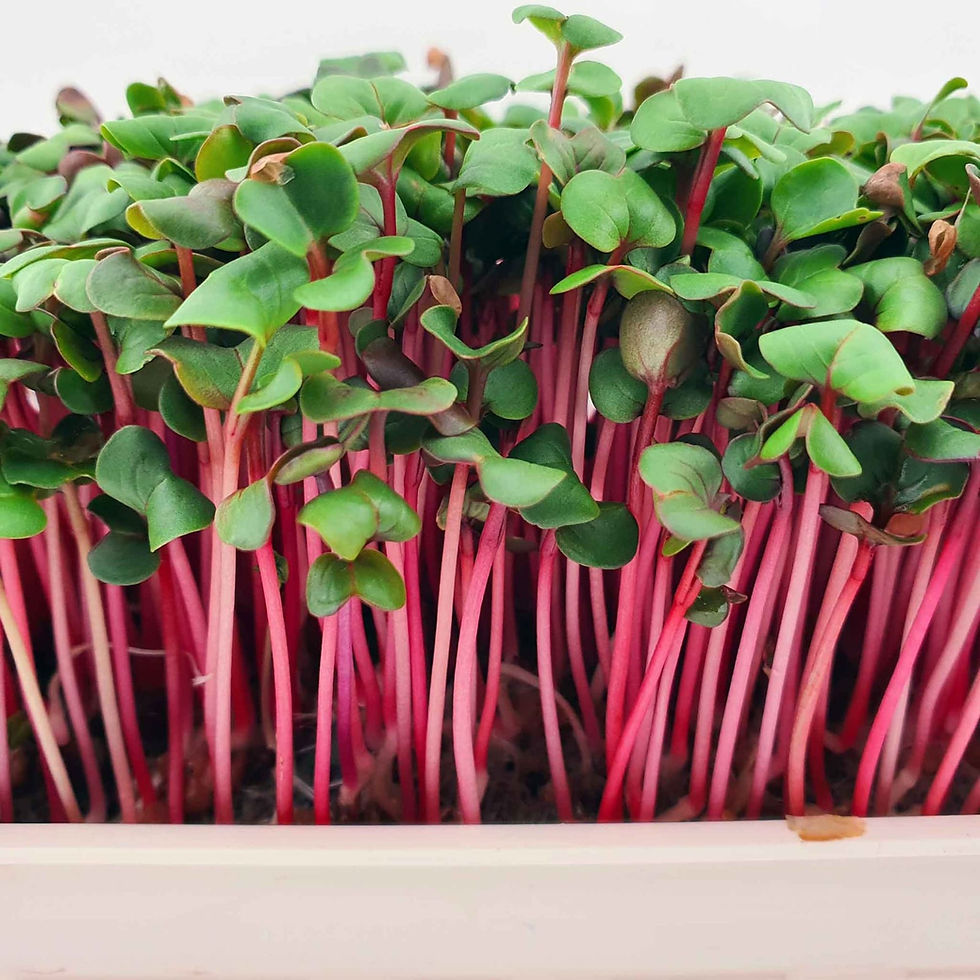
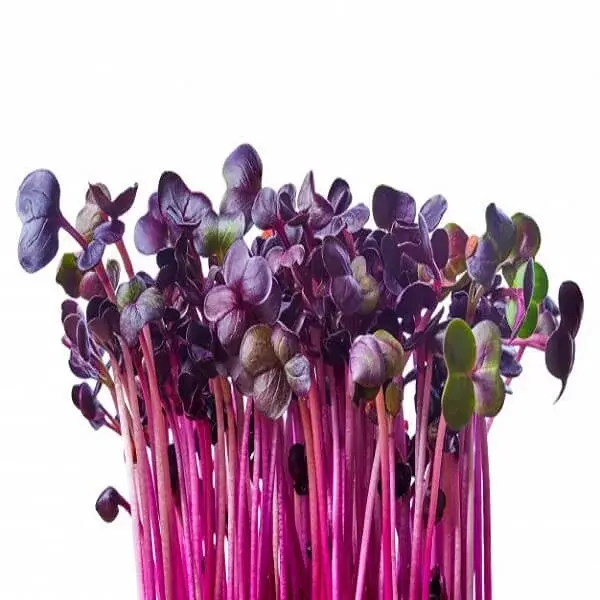
Radish Microgreens: These are mildly spicy and can add a zest to your dishes.
Basil Microgreens: Fragrant and flavorful, they work well in salads and sauces.
Pea Shoots: Sweet and crunchy, these are great for salads and garnishes.
Sunflower Microgreens: Rich in vitamins and healthy fats, they add a nutty taste.
Selecting the right type depends on your personal preferences and culinary needs. If you're just starting, it’s advisable to choose microgreens that are easy to grow and maintain.
Is Growing Your Own Microgreens Worth It?
Absolutely! Growing your own microgreens not only offers a multitude of benefits but can also be gratifying. Here are some compelling reasons to start:
Nutritional Benefits: Microgreens are often more nutritious than their mature counterparts. Studies indicate that certain microgreens contain up to 40 times the amount of minerals and vitamins compared to the mature plant.
Cost-Effective: Purchasing microgreens from stores can be expensive. Growing them at home can save you money in the long run.
Freshness: There’s nothing quite like the taste of freshly picked microgreens. You have control over the growing conditions, ensuring the best flavor and quality.
Space Efficiency: Unlike standard gardening, microgreens require less space. You can grow them indoors on a windowsill or balcony.

Essential Supplies for Growing Microgreens at Home
To successfully grow microgreens at home, you will need the following supplies:
Containers: Shallow trays or seedling flats are ideal. Ensure they have drainage holes to prevent waterlogging.
Growing Medium: Organic soil, coconut coir, or a seed starting mix works best. Avoid regular garden soil as it may contain pests or diseases.
Seeds: Purchase microgreen seeds from reputable suppliers. Always check for organic and non-GMO options.
Watering Can/Spray Bottle: For gentle watering without disturbing the seeds.
Light Source: A sunny windowsill or grow light if natural light is insufficient.
Optional Supplies
Humidity Dome: Helpful for retaining moisture during seed germination.
pH Test Kit: To ensure the growing medium is at an optimal pH level (generally around 6.0 to 7.0).
The Step-by-Step Process of Growing Microgreens
Step 1: Prepare Your Containers
Start by filling your containers with the chosen growing medium. Leave about an inch of space at the top of the container. Ensure that you smooth the surface evenly to prevent uneven growth.
Step 2: Sow the Seeds
Scatter the microgreen seeds evenly across the surface of the growing medium. Be mindful not to overcrowd them, as this can impede growth. For larger seeds like sunflower, plant them slightly deeper.
Step 3: Water the Seeds
Lightly mist the seeds with water to keep the growing medium moist but not soggy. If needed, place a humidity dome over the containers to help retain moisture during the germination phase, which typically takes 3 to 7 days.
Step 4: Provide Light
Once the seeds have germinated and you see shoots emerging, remove any humidity dome. Place your containers in a spot that receives ample sunlight. If sunlight is limited, consider using grow lights positioned about 2 to 4 inches above the microgreens.

Step 5: Regular Maintenance
Water the microgreens as needed, ensuring the soil stays moist. Avoid overwatering, as this can lead to mold and root rot. Rotate your trays every few days to encourage even light distribution and growth.
Step 6: Harvesting
Microgreens are typically ready for harvest within 7 to 21 days, depending on the variety. The best time to harvest is when the first true leaves appear. Use clean scissors to snip the greens just above the soil line for maximum freshness.
Incorporating Microgreens into Your Diet
After growing microgreens at home, the next step is to enjoy them! They can enhance a variety of dishes, including:
Salads: Add a handful of microgreens for an extra flavor boost.
Sandwiches: Layer them between slices of bread for added texture.
Smoothies: Blend them in for an extra nutrient punch.
Garnishes: Use microgreens as a beautiful, edible decoration for dishes.
Storage Tips
To keep your harvested microgreens fresh, store them in a sealed container in the refrigerator. They can last up to a week but are best consumed fresh for optimal flavor and nutrition.
Final Thoughts on Growing Microgreens at Home
Planting and nurturing microgreens offers an excellent way to embark on your culinary journey while fostering a deeper relationship with your food. Home microgreens cultivation is not only easy, but it also enriches your home, health, and kitchen skills.
Whether you are a beginner or an experienced gardener,-growing microgreens at home- can be a rewarding and delightful experience. Embrace the versatility, nutrition, and joy of growing your greens right at home!
By following the above guidelines, you’ll not only reap the rewards of homegrown produce but also contribute to sustainable practices and healthy living. Give it a try and watch your culinary adventures take off!


Comments