How to Successfully Grow Microgreens in Your Home
- mikrogrens

- Jul 7, 2025
- 4 min read
Growing microgreens is a rewarding and fulfilling hobby that brings the benefits of fresh nutrition right to your kitchen. Microgreens are young, edible plants typically harvested 7-21 days after germination, making them easy and quick to grow. This blog post will guide you through the steps, tips, and tricks to successfully grow microgreens in your Indian home.
How to Grow Microgreens
Starting your microgreen garden is simpler than you might think. Follow these steps to ensure a bountiful harvest:
Choosing the Right Seeds: Popular microgreens include mustard, radish, basil, and sunflower. Look for organic seeds since they are free of harmful pesticides and chemicals.
Gathering Supplies: You will need seed trays or shallow containers, potting soil, and water. Ensure your supplies are clean to avoid contamination.
Preparing the Soil: Fill trays with potting soil, leaving about ½ inch from the top. Gently press down to create a firm base. A high-quality soil will provide the necessary nutrients for your microgreens.
Sowing Seeds: Evenly sprinkle seeds over the soil without overcrowding them. A good rule of thumb is to use about 2-3 times more seeds than you think you need, as some may not germinate.
Watering: Mist the seeds with water using a spray bottle. Be careful not to flood the seeds—moist soil is enough to encourage germination.
Creating a Humid Environment: Cover the trays with a lid or plastic wrap to maintain humidity until the seeds start to sprout. Remove the cover once you see tiny green shoots.
Providing Light: Once sprouted, place your microgreens in a well-lit area. If sunlight is limited, consider using grow lights to ensure they receive adequate light for optimal growth.
Watering Regularly: Keep the soil consistently moist, but not soggy. Water the microgreens as needed, usually every couple of days.
Harvesting: When your microgreens are 2-3 inches tall, it’s time to harvest. Use scissors to cut just above the soil line. Rinse them thoroughly before consuming.

Benefits of Growing Microgreens at Home
Microgreens are nutrient-dense, and their small size does not discount their health benefits. Some advantages of growing microgreens at home include:
Rich in Nutrients: Studies suggest that microgreens can contain up to 40% more vitamins and minerals than their mature counterparts.
Cost-Effective: Growing your own microgreens can save you money in the long run, especially when compared to purchasing them from stores.
Space-Saving: Microgreens can be grown in small spaces—ideal for urban homes or apartments. You can even grow them on your kitchen counter!
Satisfaction: There is great satisfaction in growing your food. Watching them grow and then using them in your meals can be incredibly rewarding.

Do Microgreens Regrow After Cutting?
When it comes to microgreens, most varieties do not regrow after cutting. Unlike herbs and leafy greens, microgreens are typically harvested once. After cutting, the seedling will not continue to grow, as the energy for growth is spent during the short lifecycle.
However, some gardeners experiment with re-soaking the trays to stimulate new growth from the remaining roots. Unfortunately, this method may not yield the same results as the first harvest. Instead, you’ll likely want to start a new batch every few weeks to maintain a continual supply.

Best Crops for Indian Gardens
In India, several types of microgreens flourish due to the warm climate. Here are some favorites you may want to consider cultivating:
Methi (Fenugreek): This microgreen adds a unique flavor to various dishes. Plus, it is rich in iron and vitamins.
Chutney Greens: Fresh herbs like coriander and mint are fantastic for making delicious chutneys and dips.
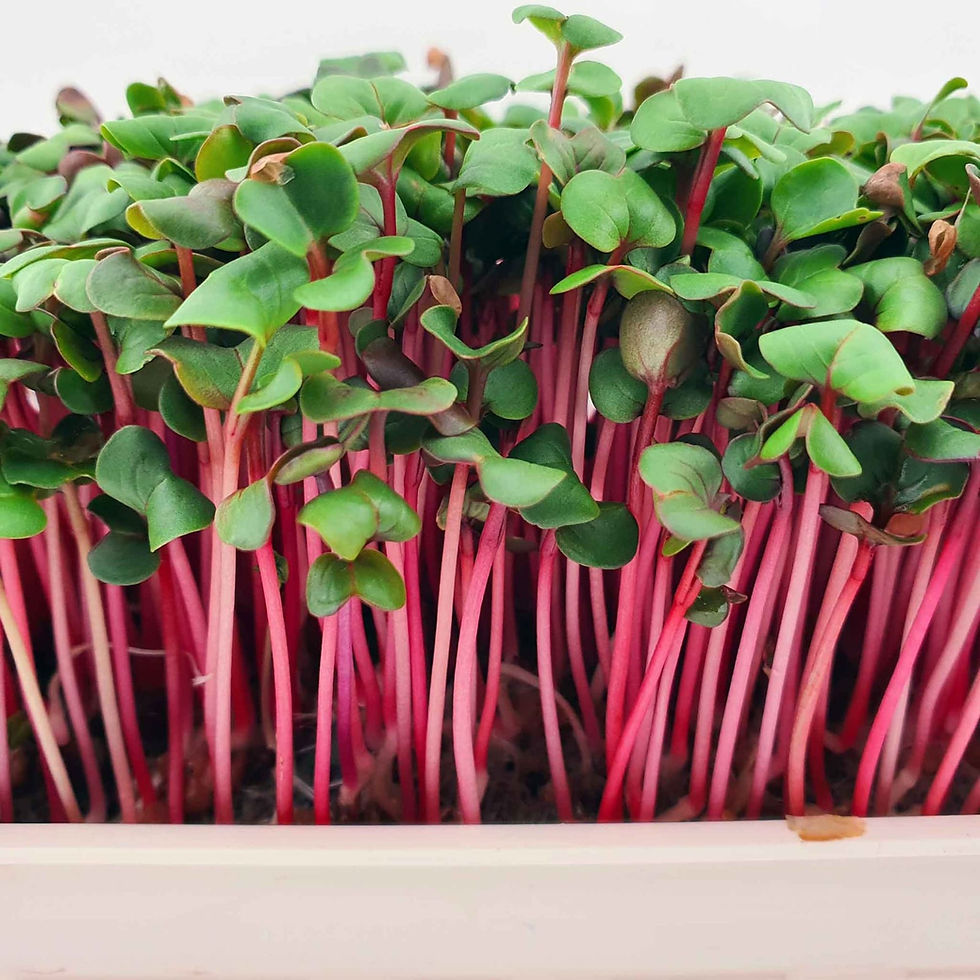
Radish: Fast-growing and peppery, radish microgreens are known for their bite. They’re great in salads or as toppings.
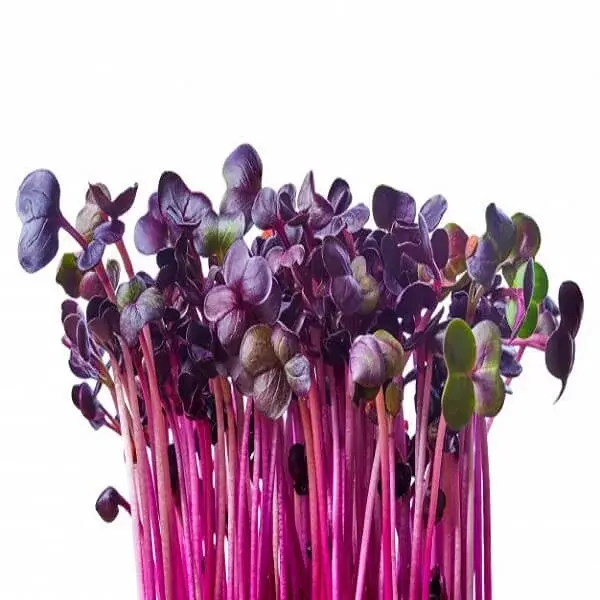
Mustard: These greens pack a spicy punch and are perfect for enhancing flavor in various cuisines.
Sunflower: Known for their nutty flavor and crunchy texture, sunflower microgreens are versatile in salads and sandwiches.
By selecting the right crops suited to your palate and the Indian climate, you can create a vibrant microgreen garden.
Tips for Successful Microgreen Cultivation
To foster a thriving microgreen garden at home, keep the following tips in mind:
Timing: Plant your microgreens during cooler months, avoiding the extreme summer heat, which may hinder germination.
Rotation: Grow different varieties in rotation to enjoy diverse flavors and nutritional benefits over time.
Container Variety: Experiment with various containers to find the best fit for your space. From trays to recycled containers, creativity knows no bounds!
Experimenting: Don't hesitate to experiment with different seed mixes and growing techniques. Each attempt will teach you valuable lessons.
Keeping Notes: Maintain a journal to track what works best for you. Note growth times, flavors, and harvest yields.
Microgreens can add value to your meals and enhance your overall culinary experience. If you want to learn the nuances of growing microgreens at home, you can visit this link.

Final Thoughts
Growing microgreens in your Indian home is an enjoyable venture that can yield healthy, flavorful additions to your meals. With the right knowledge, preparation, and a little bit of patience, you can cultivate a thriving microgreen garden. Dive into the world of microgreens today and elevate your cooking while enjoying the satisfaction of nurturing life from your own home. Happy planting!


Comments