Master the Art of Growing Microgreens at Home in India
- mikrogrens

- Sep 17, 2025
- 4 min read
Microgreens are tiny, nutrient-packed greens harvested just after the first leaves develop. They are gaining popularity in urban kitchens across India for their vibrant flavors, health benefits, and ease of cultivation. Whether you want to add a fresh crunch to your meals or start a small home business, learning how to grow microgreens at home can be a rewarding experience.
Microgreens are perfect for health-conscious individuals and families who want fresh, organic produce without the hassle of a large garden. This guide will walk you through everything you need to know about growing microgreens in India, from selecting seeds to harvesting and even selling your greens.
Why Microgreens Are a Superfood You Should Grow
Microgreens are more than just salad toppings. They are packed with vitamins, minerals, and antioxidants that can boost your immune system and improve overall health. Studies show that microgreens can contain up to 40 times more nutrients than their mature counterparts.
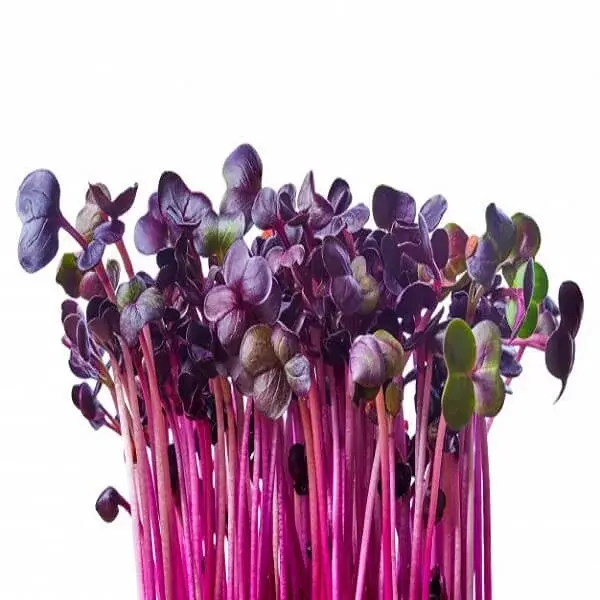
Some popular microgreens include:
Fenugreek (Methi) - Rich in iron and fiber.
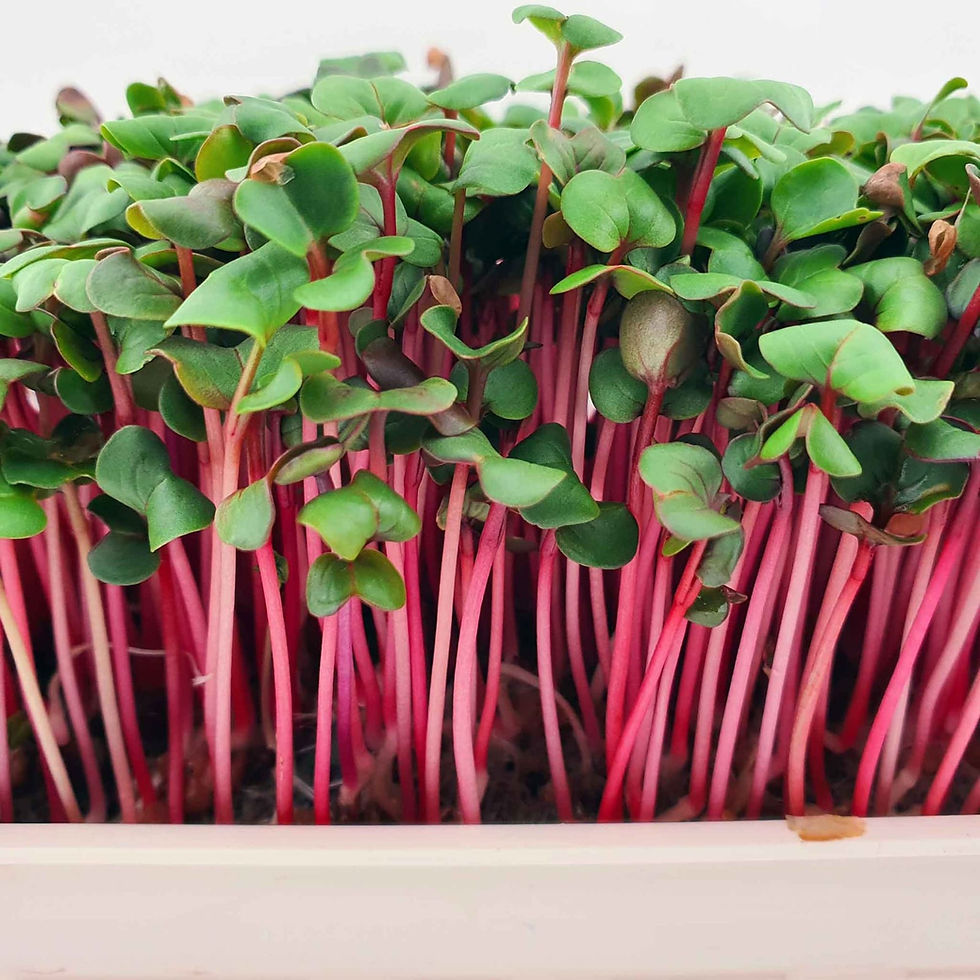
Radish - High in vitamin C and adds a spicy kick.
Sunflower - Loaded with protein and healthy fats.
Basil - Contains essential oils and antioxidants.
Growing microgreens at home is a simple way to ensure you have access to fresh, pesticide-free greens year-round. They require minimal space, making them ideal for apartments or small balconies.

How to Grow Microgreens at Home: Step-by-Step Guide
Growing microgreens is straightforward and does not require specialized gardening skills. Here’s a step-by-step guide tailored for Indian urban homes:
1. Choose Your Seeds
Select high-quality seeds meant for microgreens. Avoid seeds treated with chemicals. You can buy seeds from trusted suppliers or specialized stores like Miikrogrenz, which offers a variety of microgreen seeds and DIY kits.
2. Prepare the Growing Medium
Microgreens grow well in soil, coco peat, or hydroponic mats. For beginners, organic potting soil or coco peat is recommended. Fill shallow trays with about 1-2 inches of the medium.
3. Sow the Seeds
Evenly spread the seeds over the surface. Use enough seeds to create a dense layer but avoid overcrowding. Lightly press the seeds into the soil and mist with water.
4. Provide Proper Light and Temperature
Place the trays in a well-lit area with indirect sunlight. Microgreens thrive at temperatures between 20-25°C. If natural light is insufficient, use LED grow lights for 12-16 hours daily.
5. Water Regularly
Keep the soil moist but not waterlogged. Use a spray bottle to mist the microgreens twice a day. Good drainage is essential to prevent mold growth.
6. Harvest Time
Microgreens are usually ready to harvest in 7-14 days, depending on the variety. Use scissors to cut the greens just above the soil line when the first true leaves appear.

Do I Need a License to Sell Microgreens in India?
If you plan to turn your microgreen hobby into a business, understanding the legal requirements is crucial. In India, selling microgreens typically falls under the food business category, and you may need to comply with the Food Safety and Standards Authority of India (FSSAI) regulations.
Key Points to Consider:
FSSAI Registration: Small-scale sellers can apply for a basic FSSAI registration, which is relatively simple and affordable.
Licensing for Larger Operations: If you plan to scale up or supply to restaurants and stores, you may need a full FSSAI license.
Local Municipal Permits: Check with your local municipal corporation for any additional permits required for selling food products.
Packaging and Labeling: Ensure your microgreens are packaged hygienically and labeled with necessary information like expiry date, nutritional facts, and contact details.
Starting with a small home-based business can be a great way to test the market before investing in licenses and infrastructure.
Tips for Maximizing Yield and Quality of Microgreens
To get the best results from your microgreen garden, consider these practical tips:
Use Fresh Seeds: Old seeds may have low germination rates.
Maintain Cleanliness: Sterilize trays and tools to prevent contamination.
Rotate Crops: Avoid planting the same microgreen repeatedly in the same tray to reduce disease risk.
Optimize Light Exposure: Rotate trays to ensure even light distribution.
Control Humidity: Keep humidity levels moderate to prevent mold.
Harvest at the Right Time: Overgrown microgreens can become bitter and lose nutritional value.
By following these tips, you can enjoy a continuous supply of fresh microgreens that are both tasty and nutritious.

Where to Buy Quality Microgreen Seeds and Kits in India
For those starting out, purchasing quality seeds and DIY kits can simplify the process. Miikrogrenz offers a wide range of microgreen seeds, starter kits, and even franchise opportunities for those interested in a microgreen business.
Benefits of Buying from Miikrogrenz:
Certified Organic Seeds: Ensures healthy and safe microgreens.
Complete DIY Kits: Includes seeds, trays, growing medium, and instructions.
Expert Support: Guidance on growing and selling microgreens.
Franchise Options: For entrepreneurs looking to expand into microgreen farming.
You can explore their offerings and get started with growing microgreens at home easily and confidently.
Embrace a Healthier Lifestyle with Microgreens
Incorporating microgreens into your daily diet is a simple way to boost nutrition. They can be added to salads, sandwiches, smoothies, and even garnished on soups. Their vibrant colors and fresh flavors make meals more appealing and healthy.
By mastering how to grow microgreens at home, you not only gain access to fresh greens but also contribute to sustainable living by reducing food miles and packaging waste.
Start your microgreen journey today and enjoy the benefits of fresh, homegrown nutrition right at your fingertips. Whether for personal use or business, microgreens offer a promising and fulfilling venture.


Comments